My Dads latest project…
It started while he was flicking through the Next ‘Home’ catalogue and saw something similar in the background on one of the furniture pages and said “I want to do that…”

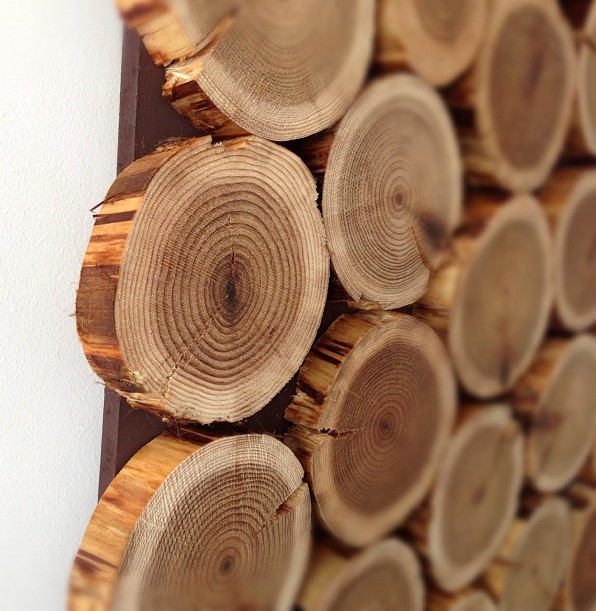
And here it is! After doing some research we found out that the best type of wood to use was Cedar, as it is decay-resistant, good quality and very strong. (Did you know certain types of cedar wood is often used for outdoor construction such as log cabins, furniture, guitar making and even ship building?)

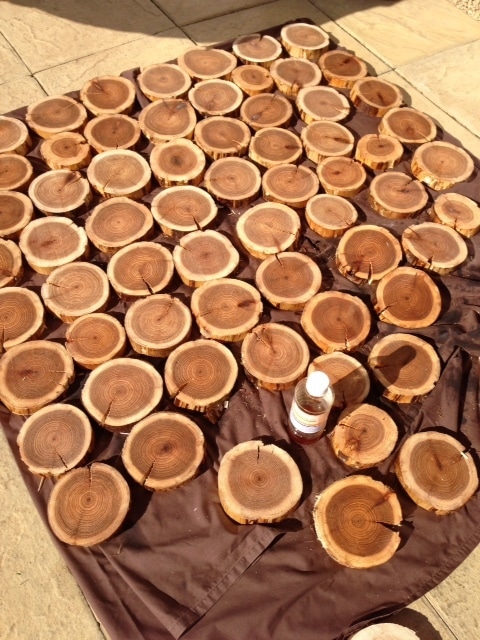
Once a supplier of the logs was sourced, my Dad was lucky enough to request the logs ready sliced to his requirements. He coated each log in a special oil which gave them a nice rich colour, then mounted them onto a long wooden board that he had painted earlier, and stuck each log down using a glue gun.

We found that it would have been difficult to mount the logs onto a square shaped background as the logs didn’t quite line up perfectly.
This decorative feature looks stunning and would make an eye catching piece in any room. You could even fill a whole wall with log slices and stick them directly onto a wall.

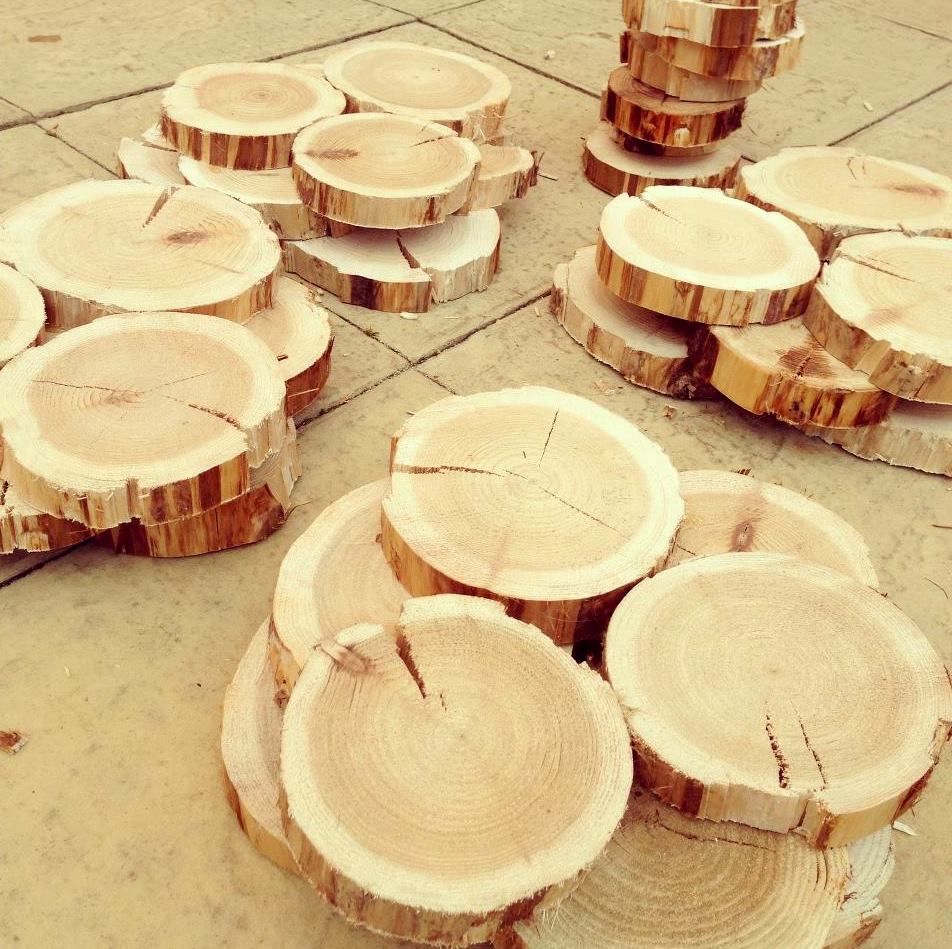
I used the left over logs to make some rustic wooden plinths for displaying my vases on. I decided to leave them bare with no oil to keep the natural look. They look great and I can’t wait to try them out at my first autumn craft fair of the year this weekend!

I love this. I’m hoping I can find some logs in Salt Lake so I can make a headboard like this. Really lovely.
[…] DIY project and photo credit to charlottehupfieldceramics.com […]